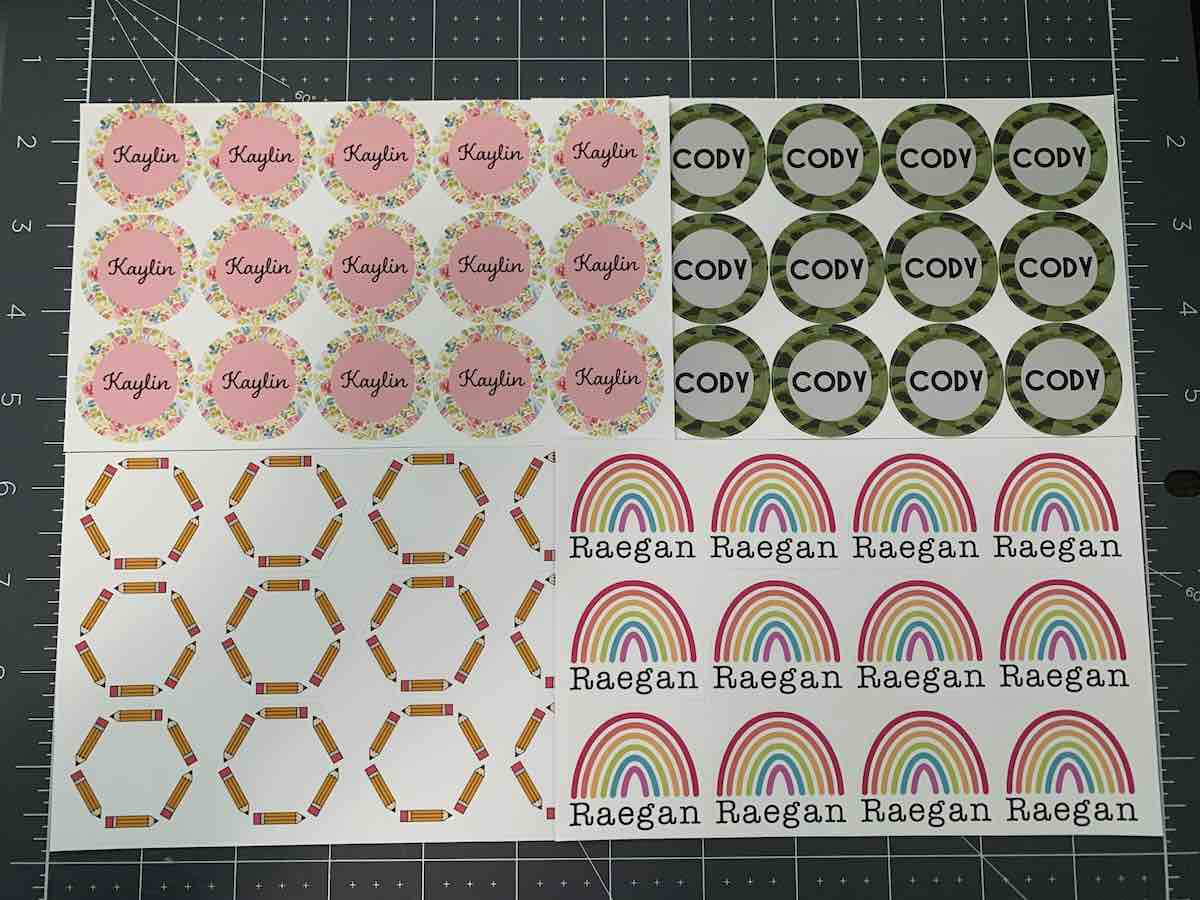
Introducing Create Sticker in Design Space
With Create Sticker, making Print Then-Cut stickers is faster and easier than ever.
Read


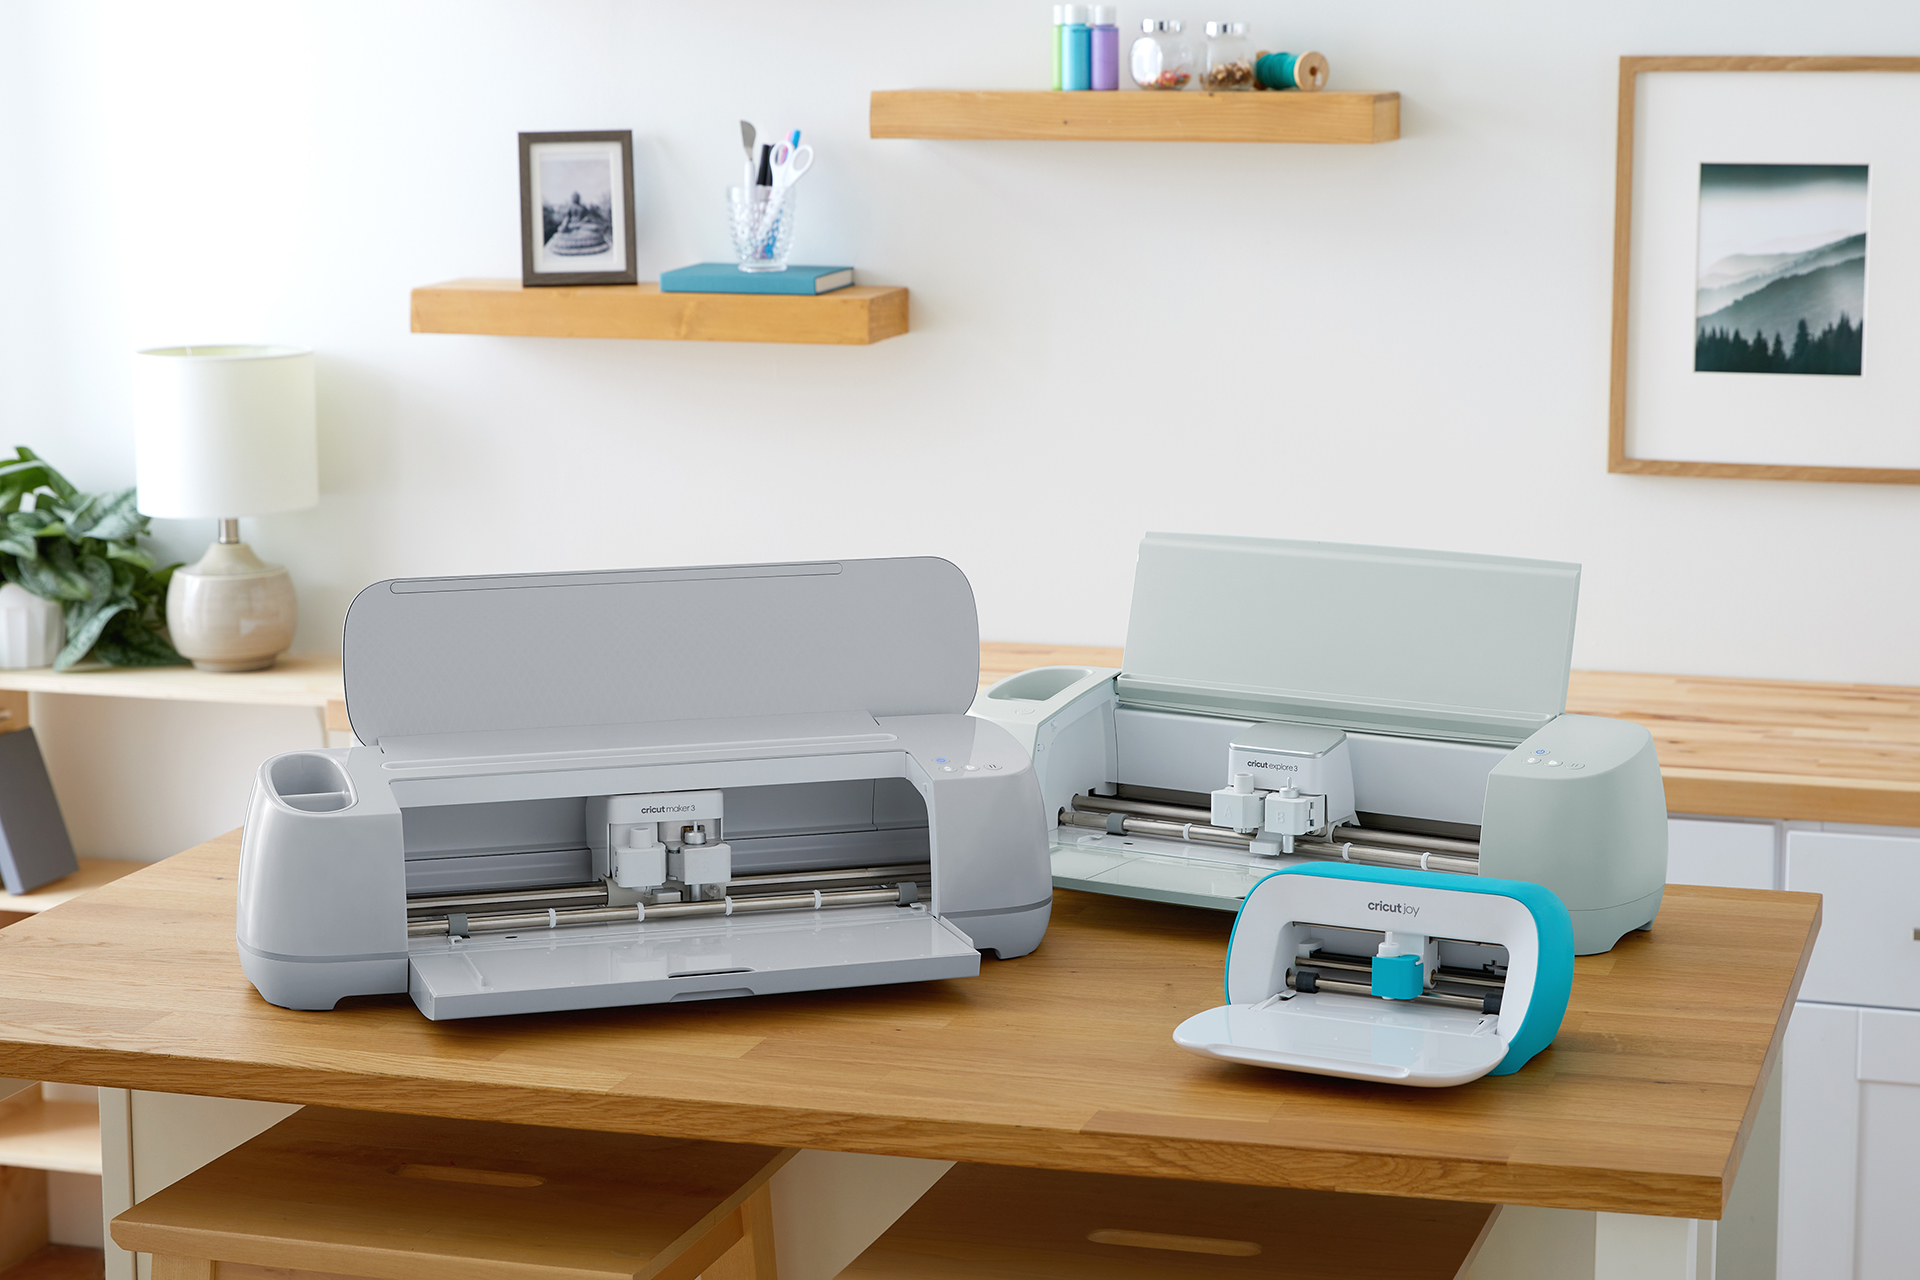
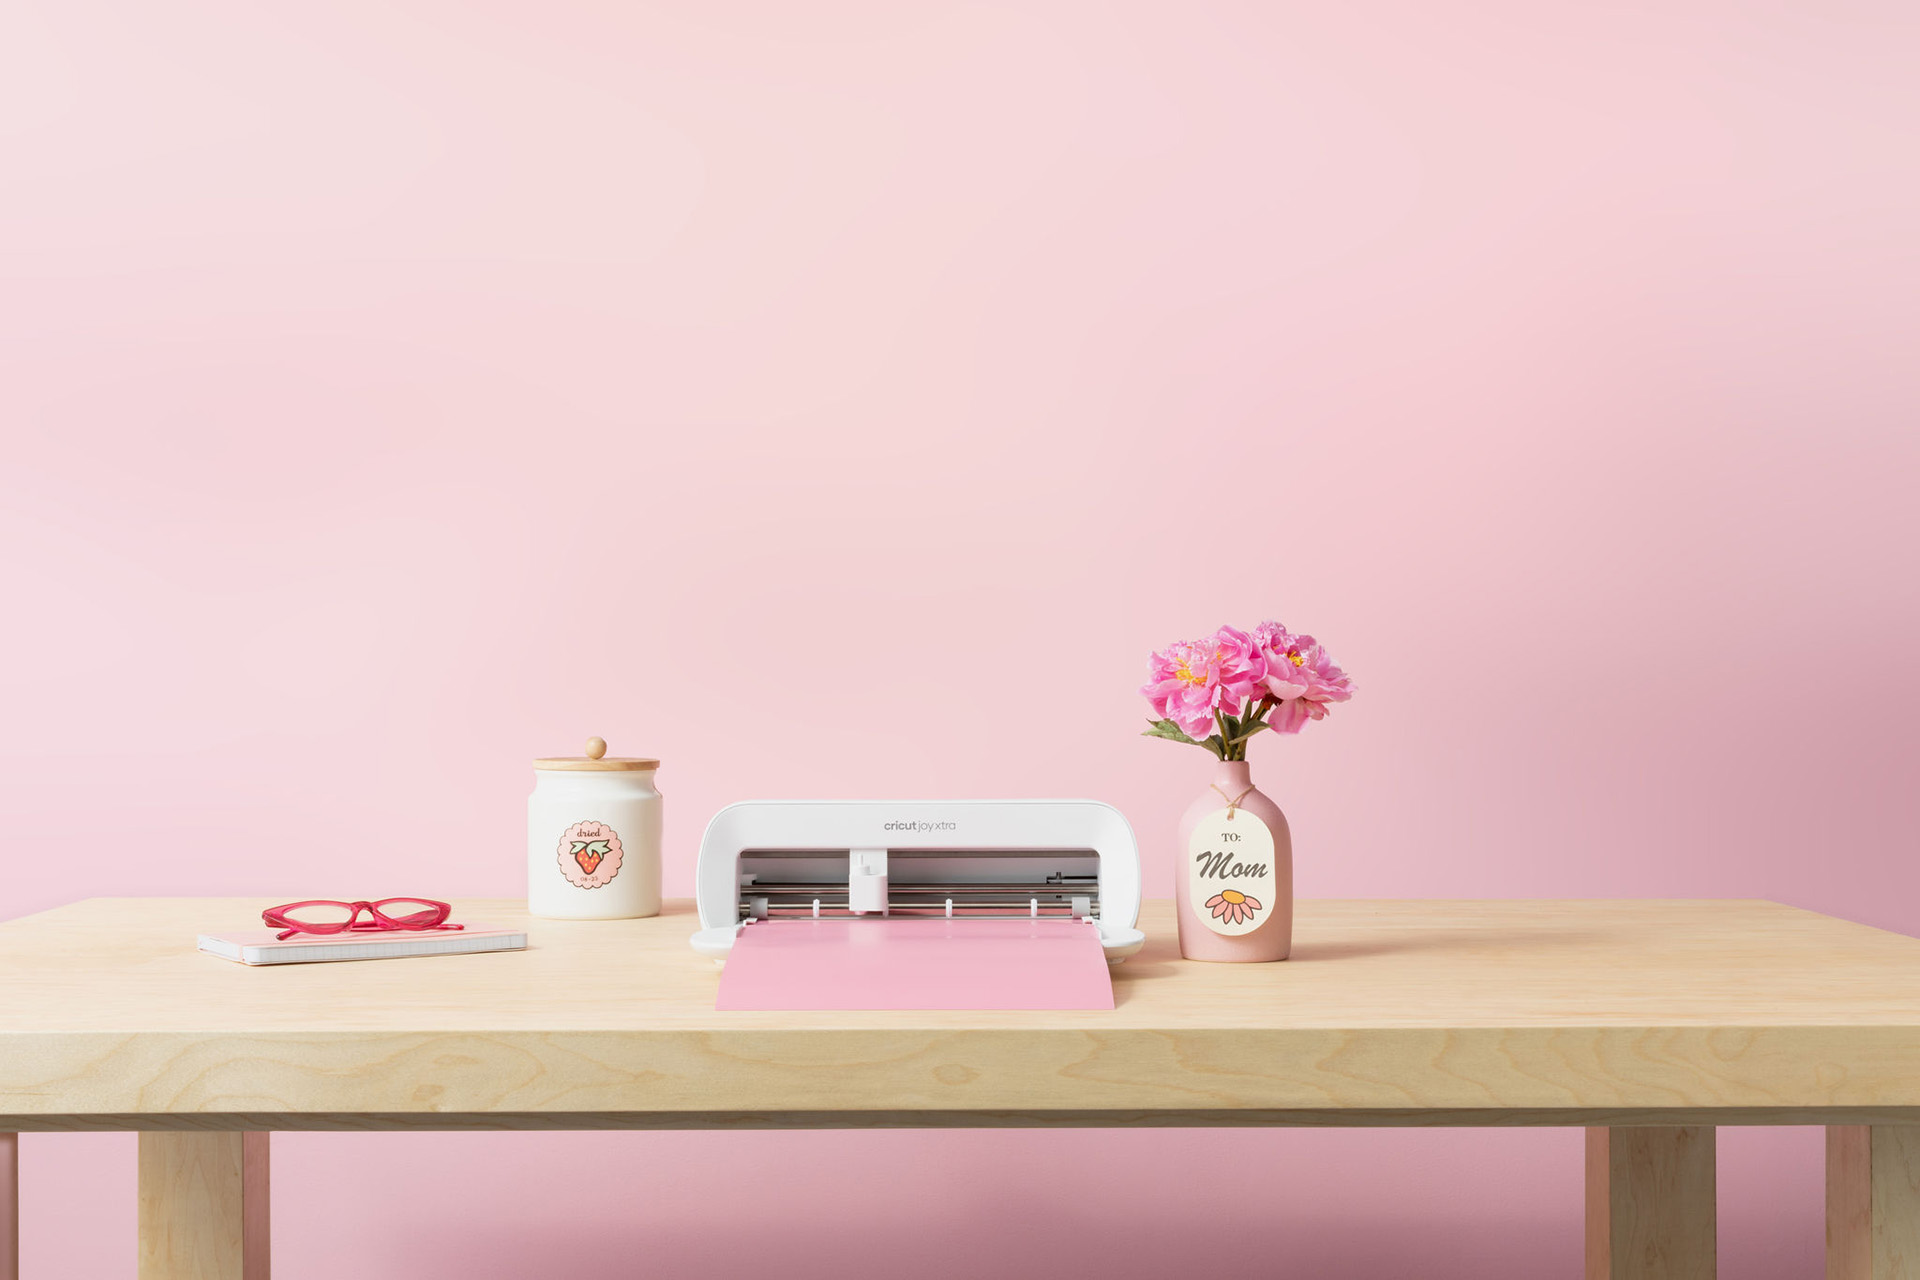
Cricut launches Cricut Joy Xtra, expanding its platform and cutting machine portfolio
Cricut introduces a new compact cutting machine designed to make popular projects
Read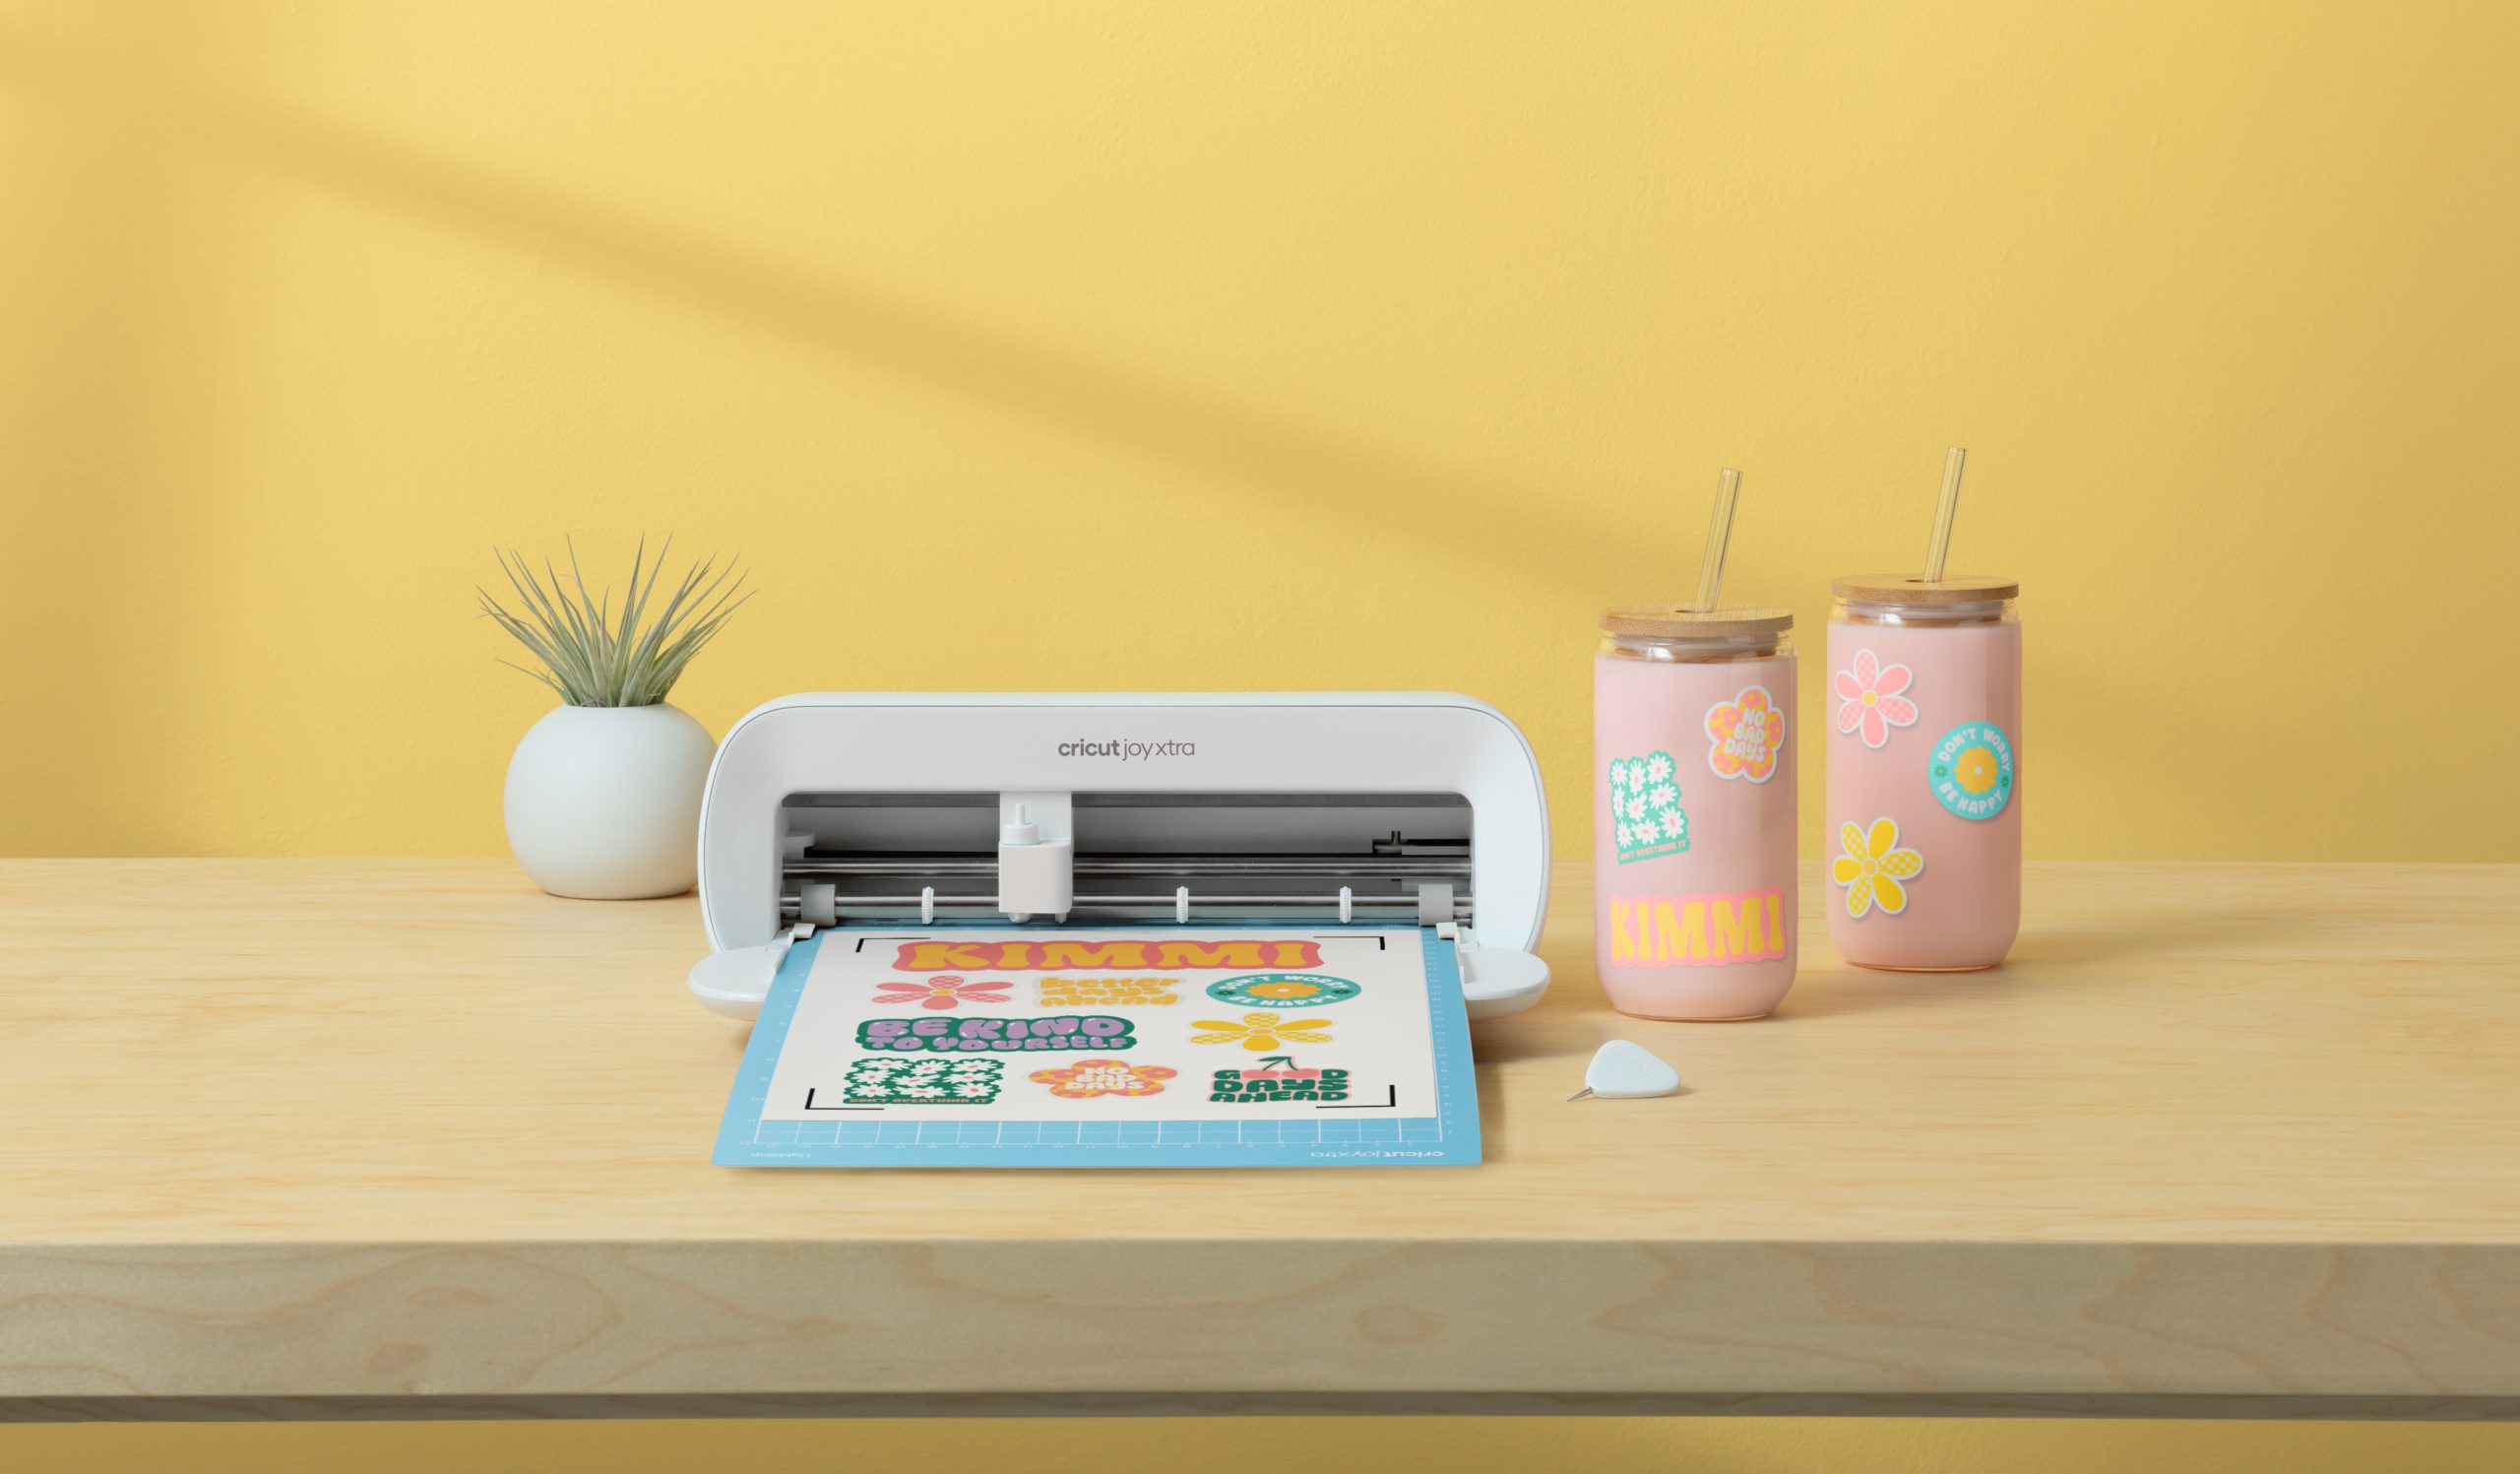
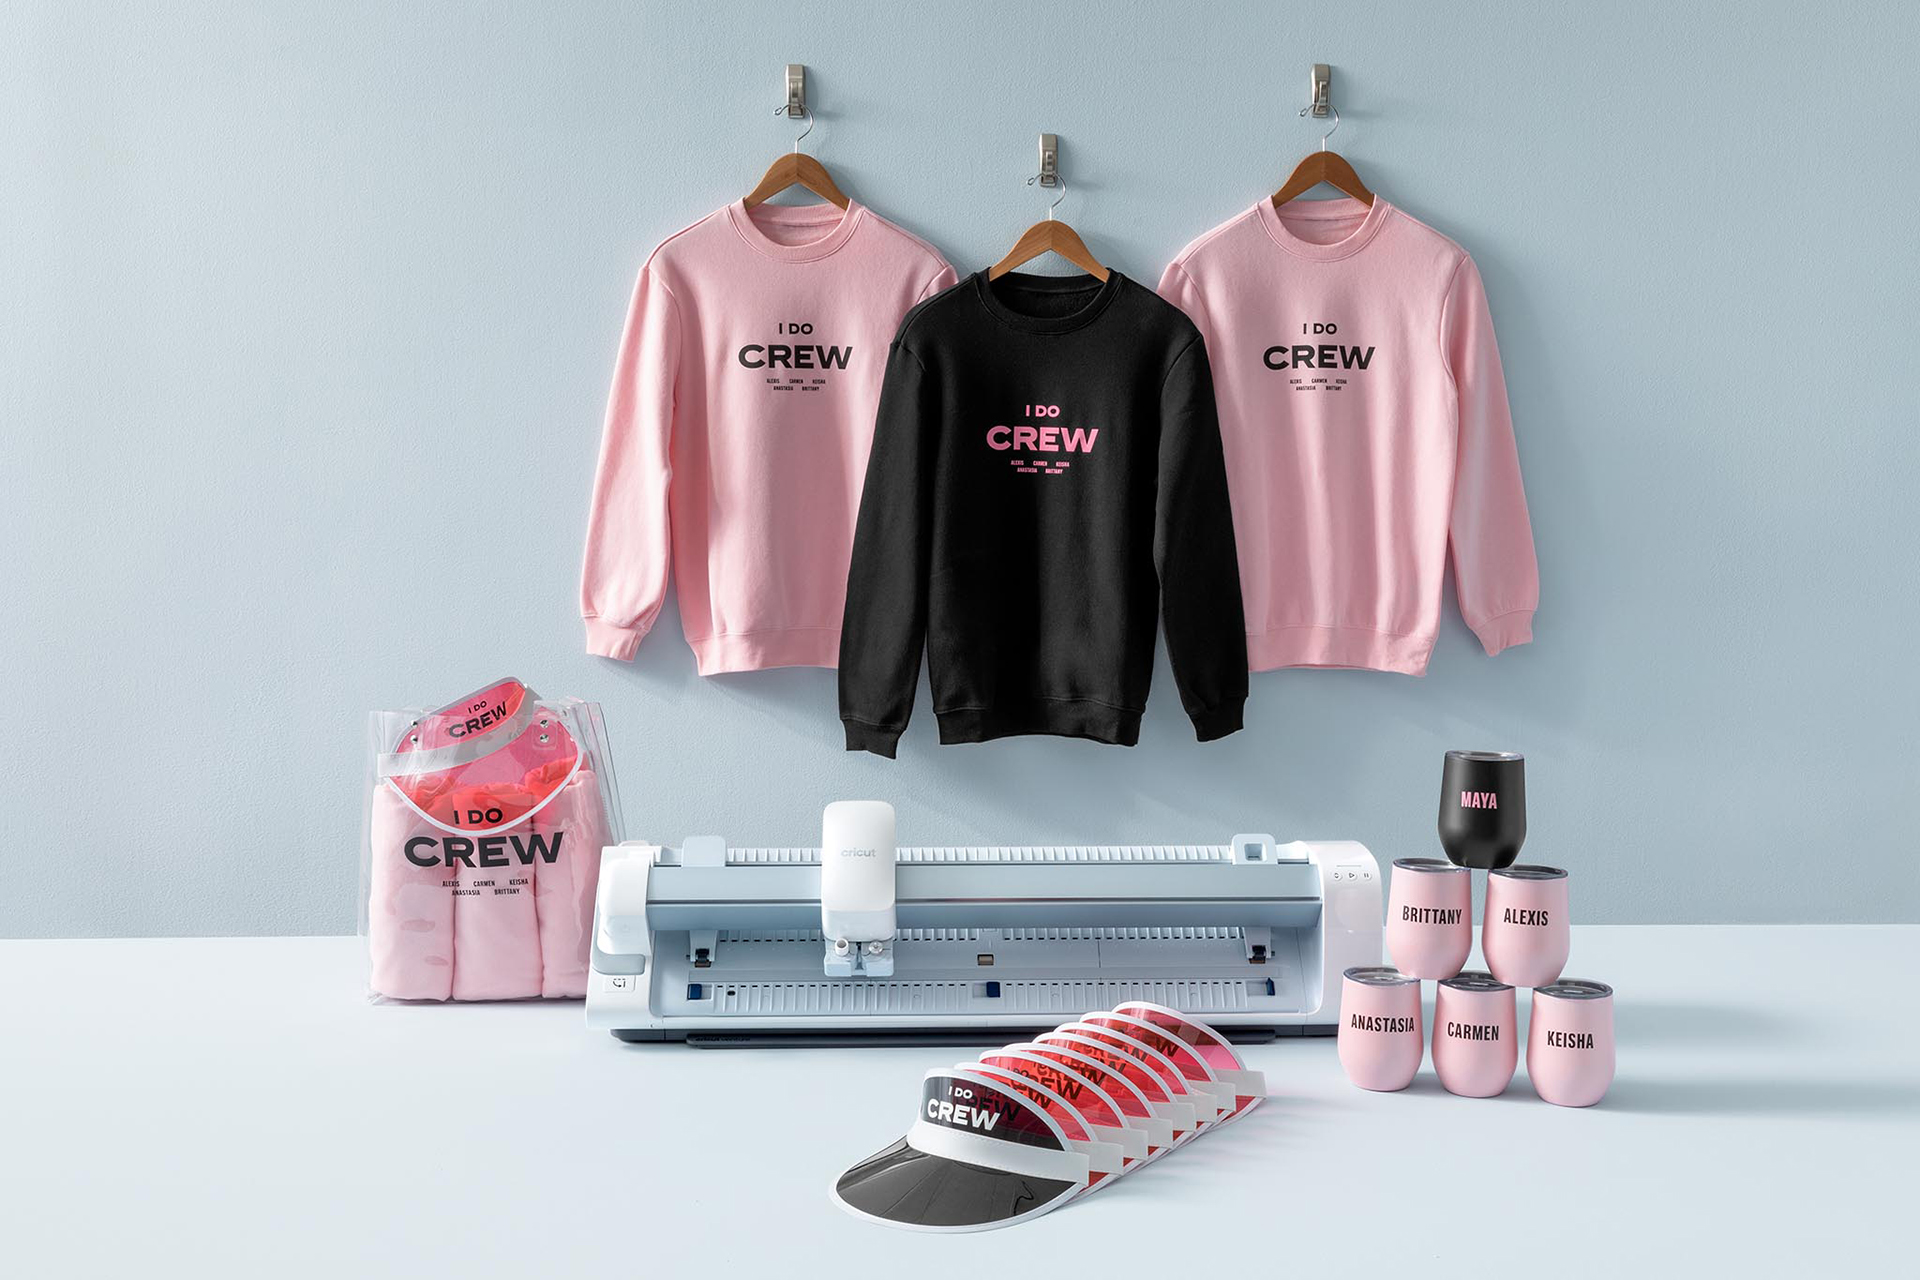
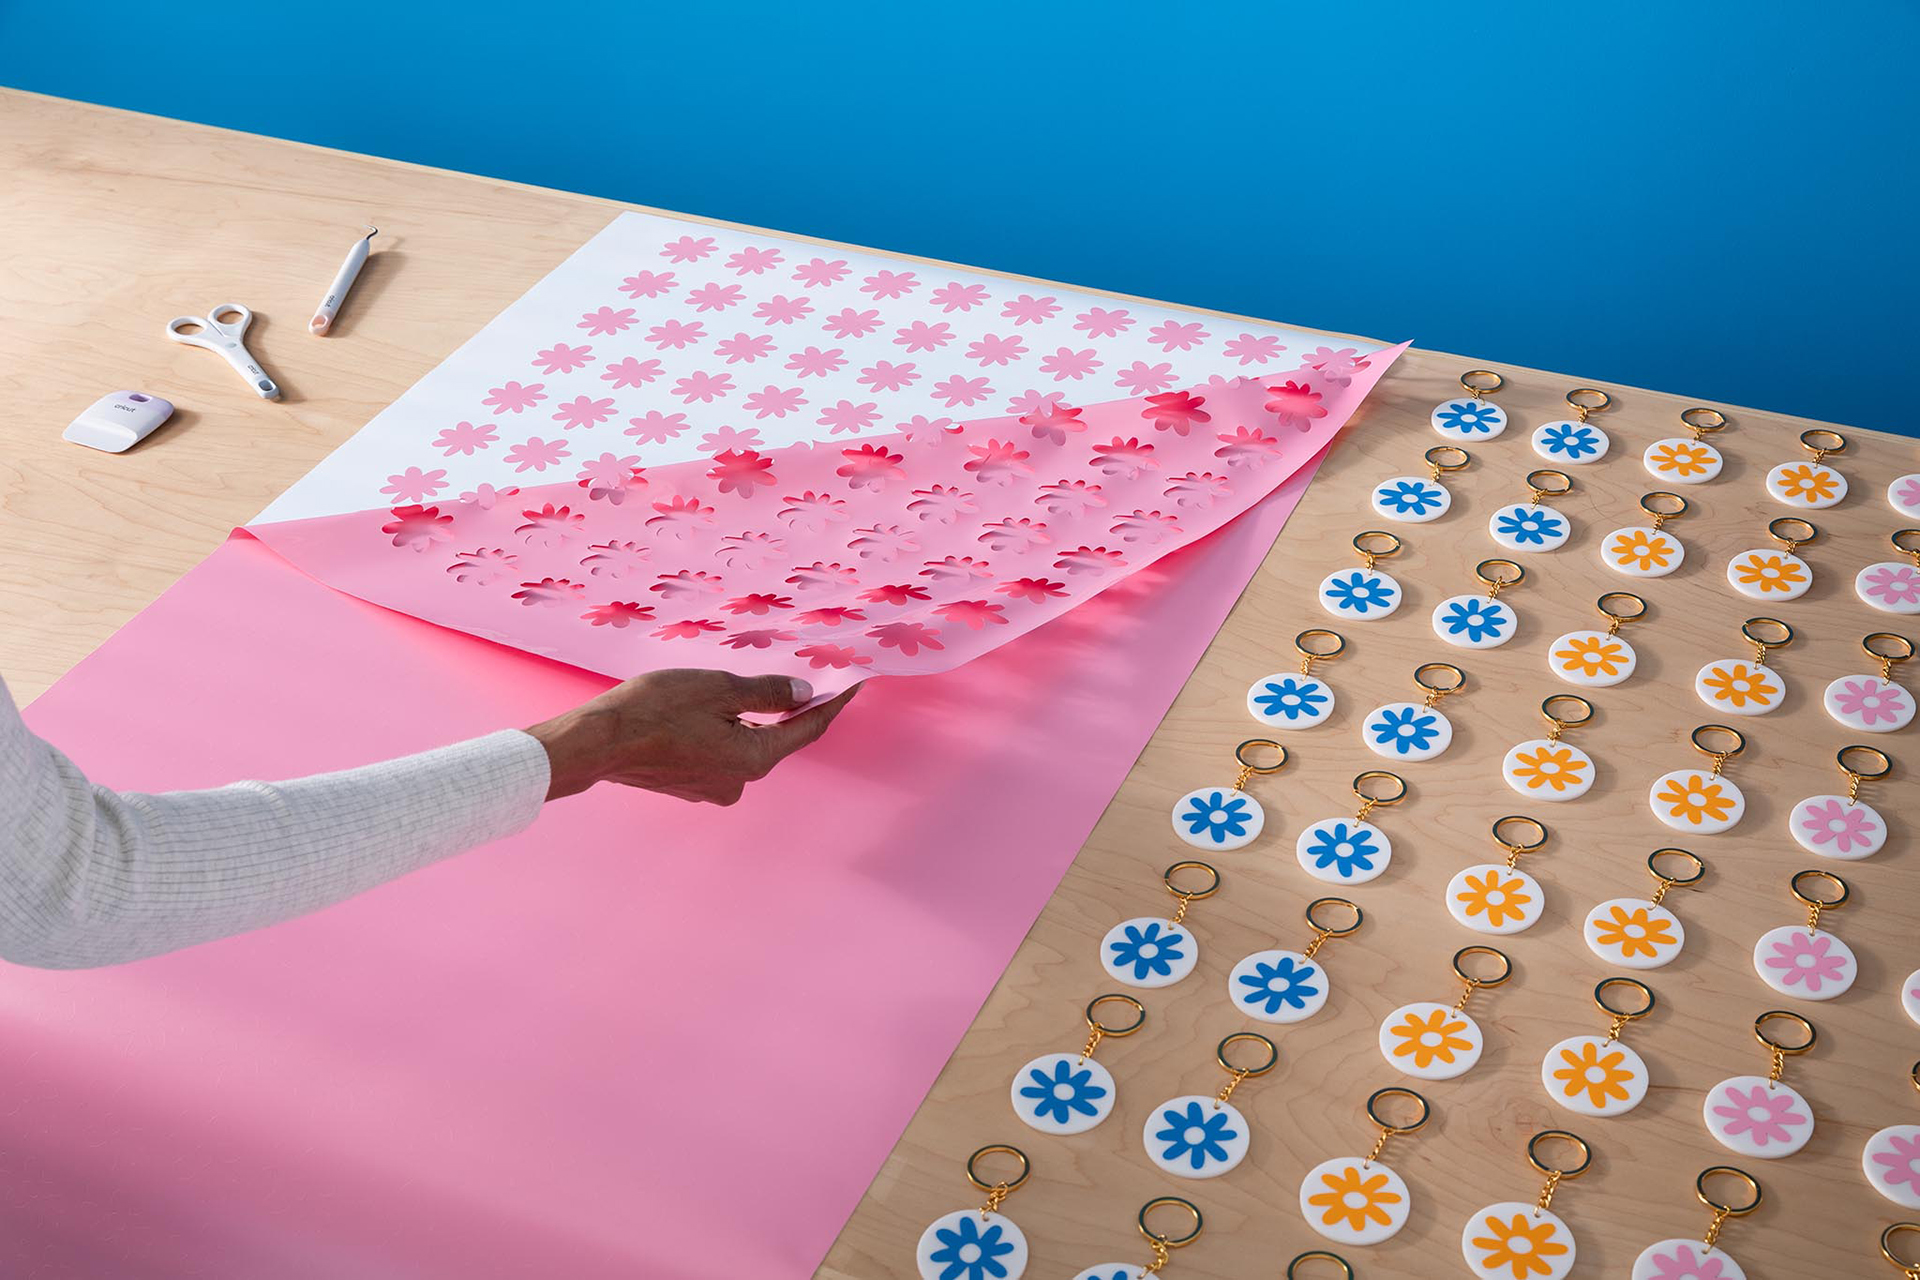
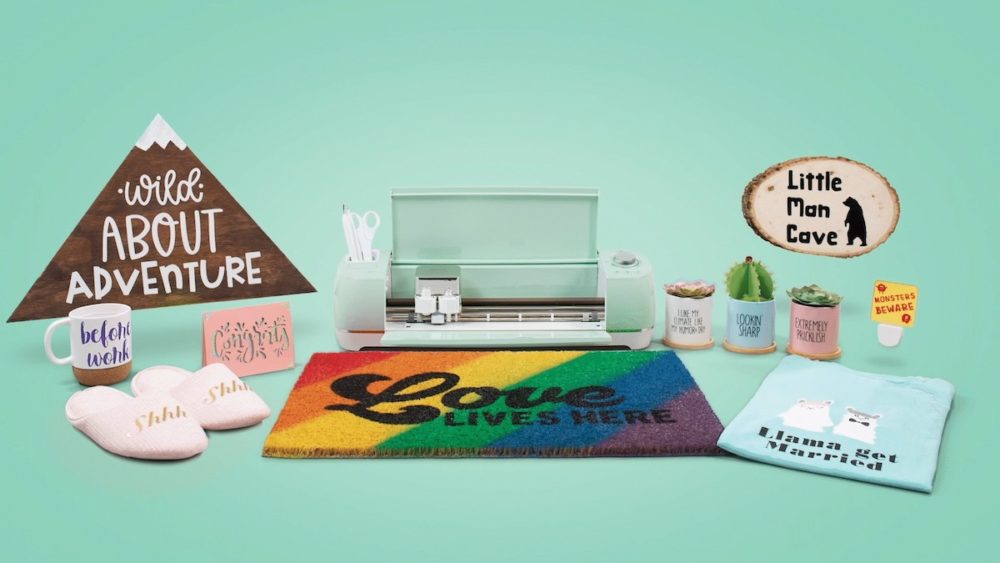
Introducing Cricut Venture, the largest and fastest cutting machine on the Cricut® platform
Cricut expands its creativity platform with Cricut Venture, giving users the power to create large-scale designs and quantities with precision.
Read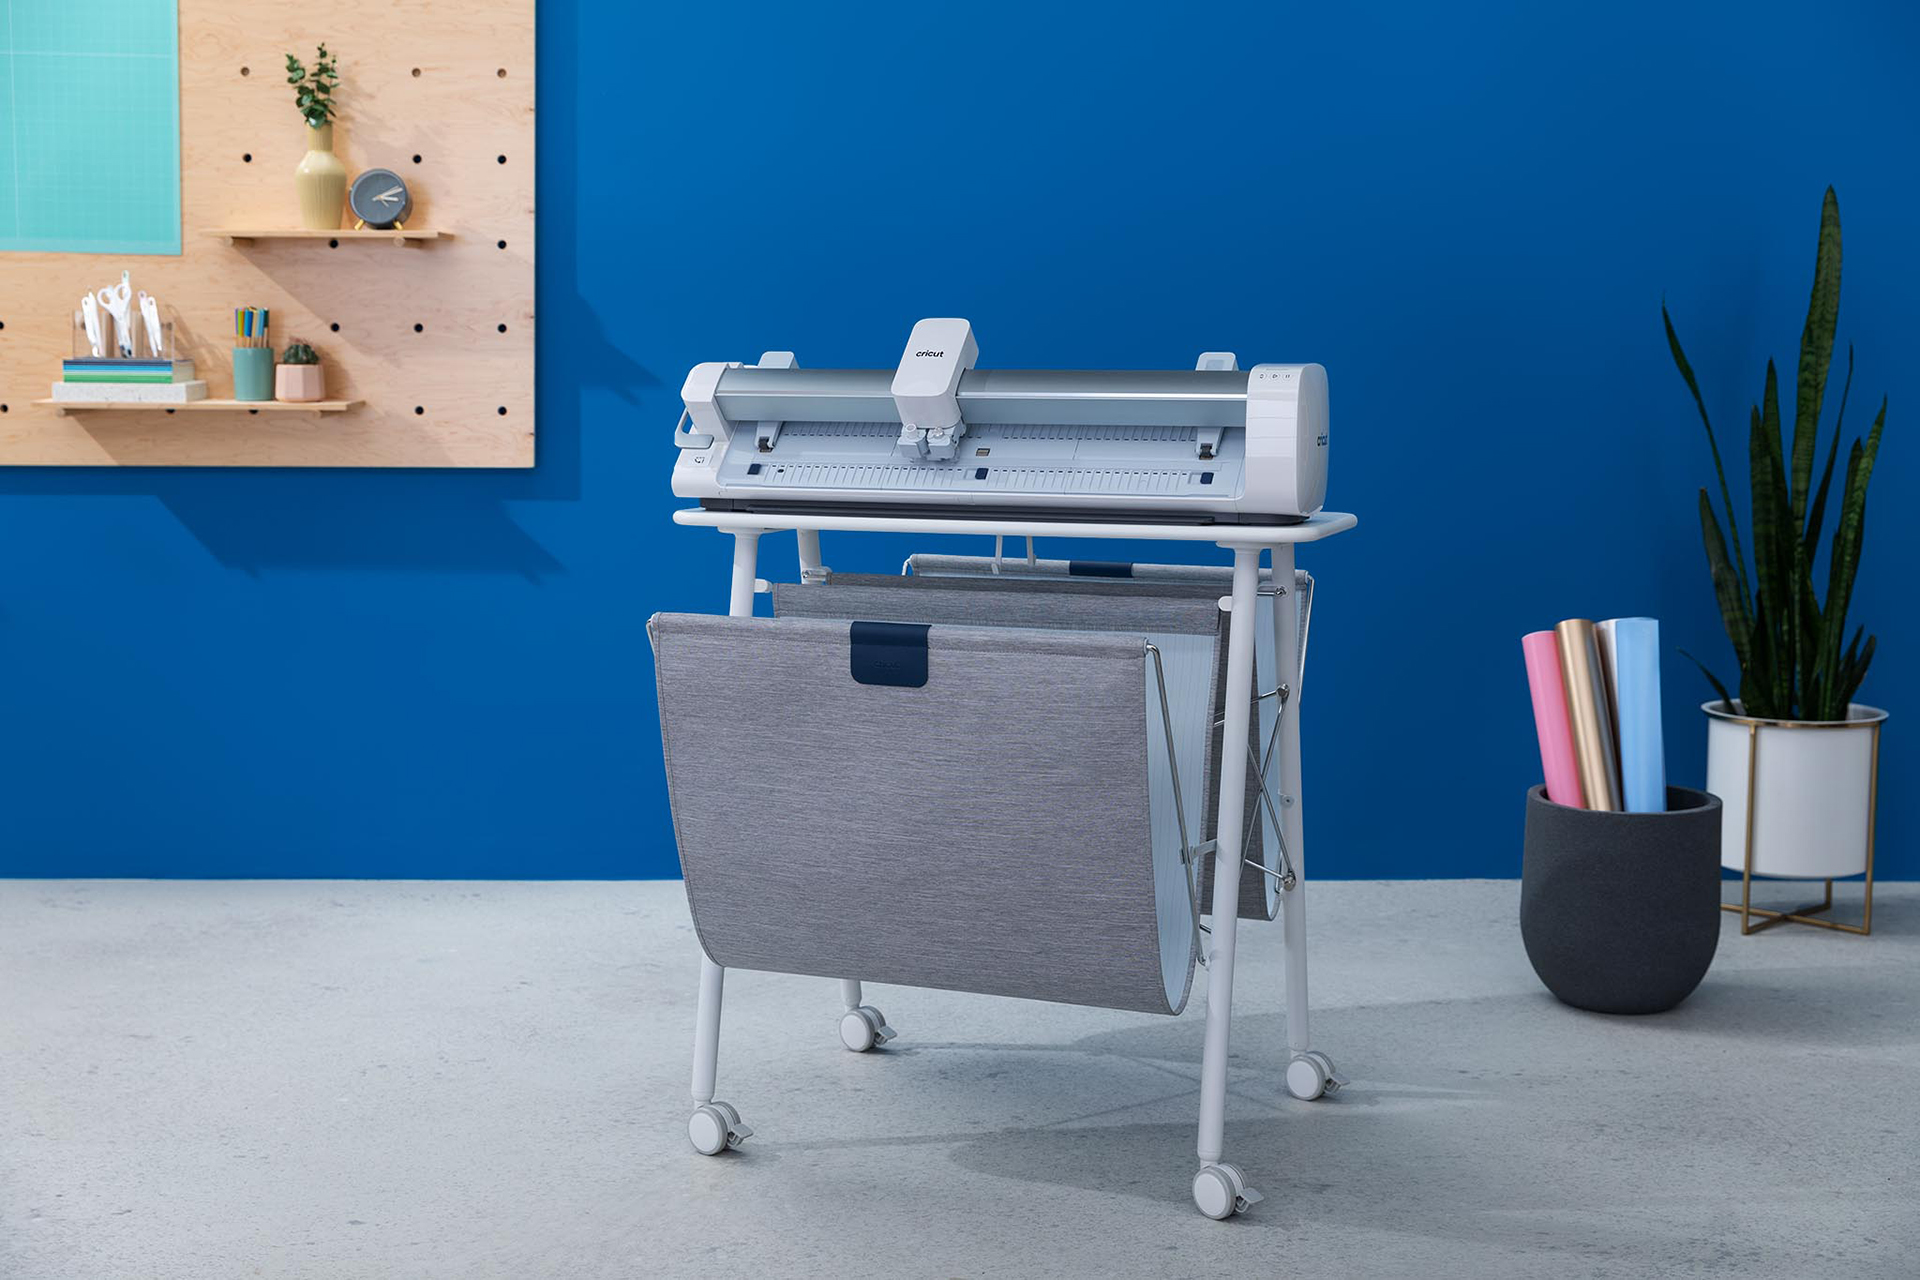
Latest Posts


Latest how-tos
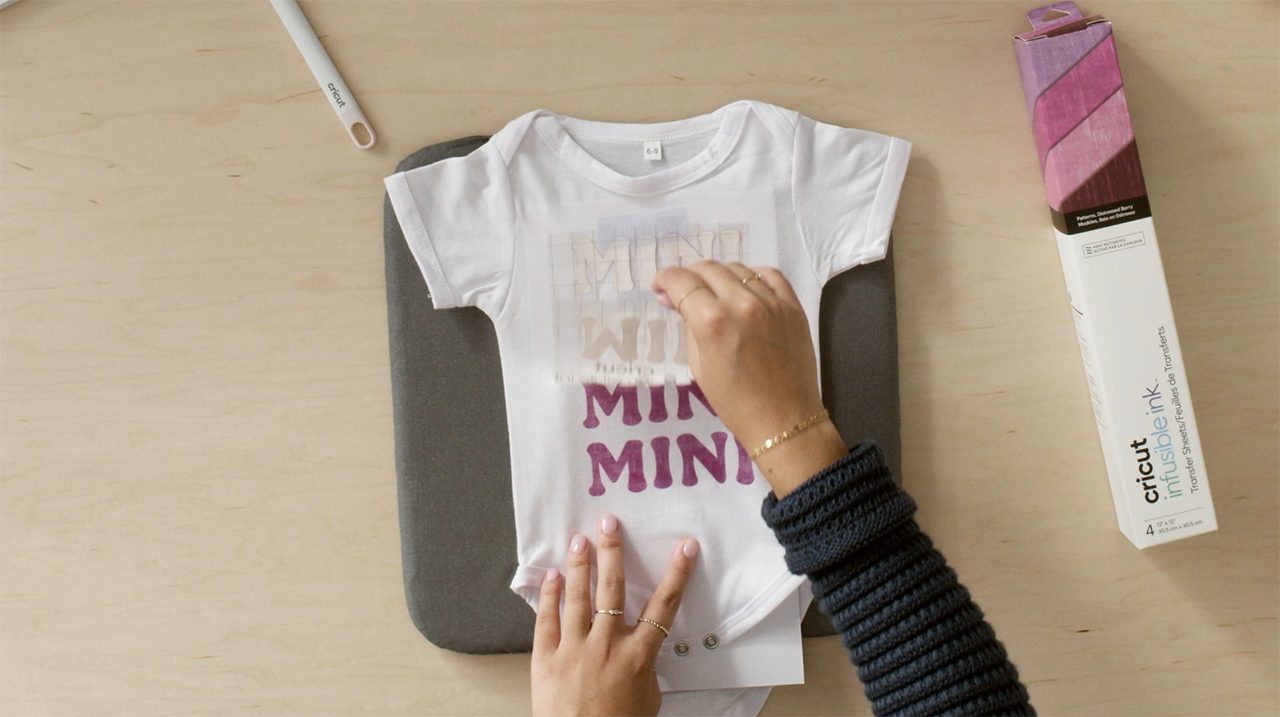
How to make custom baby clothes with Cricut
Look no further than your Cricut to create custom baby clothes! So follow along to see how she makes it! If you want to make this same project, head to Design Space
Read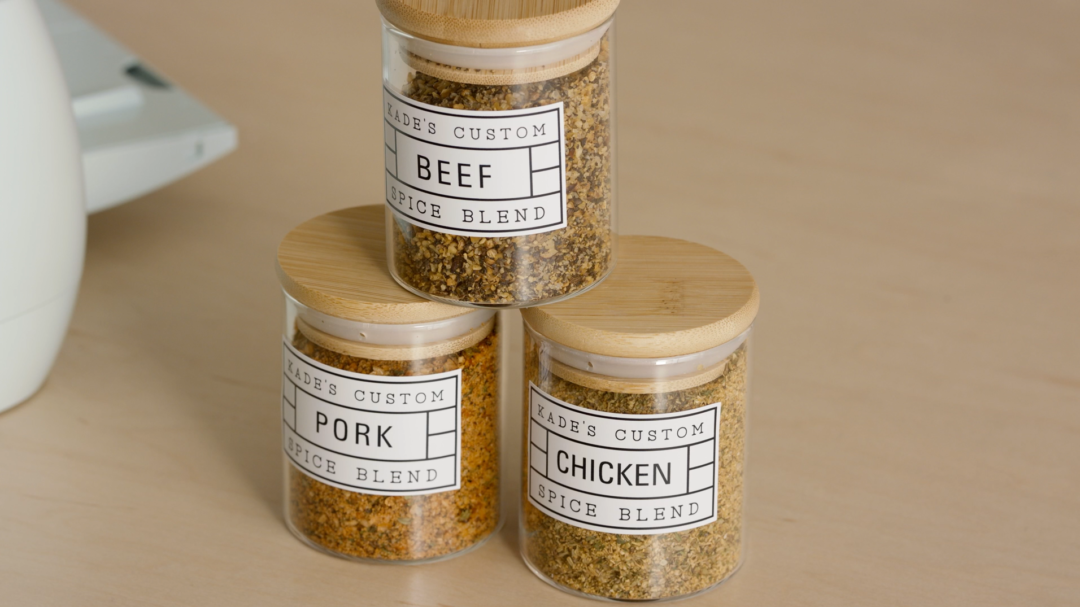
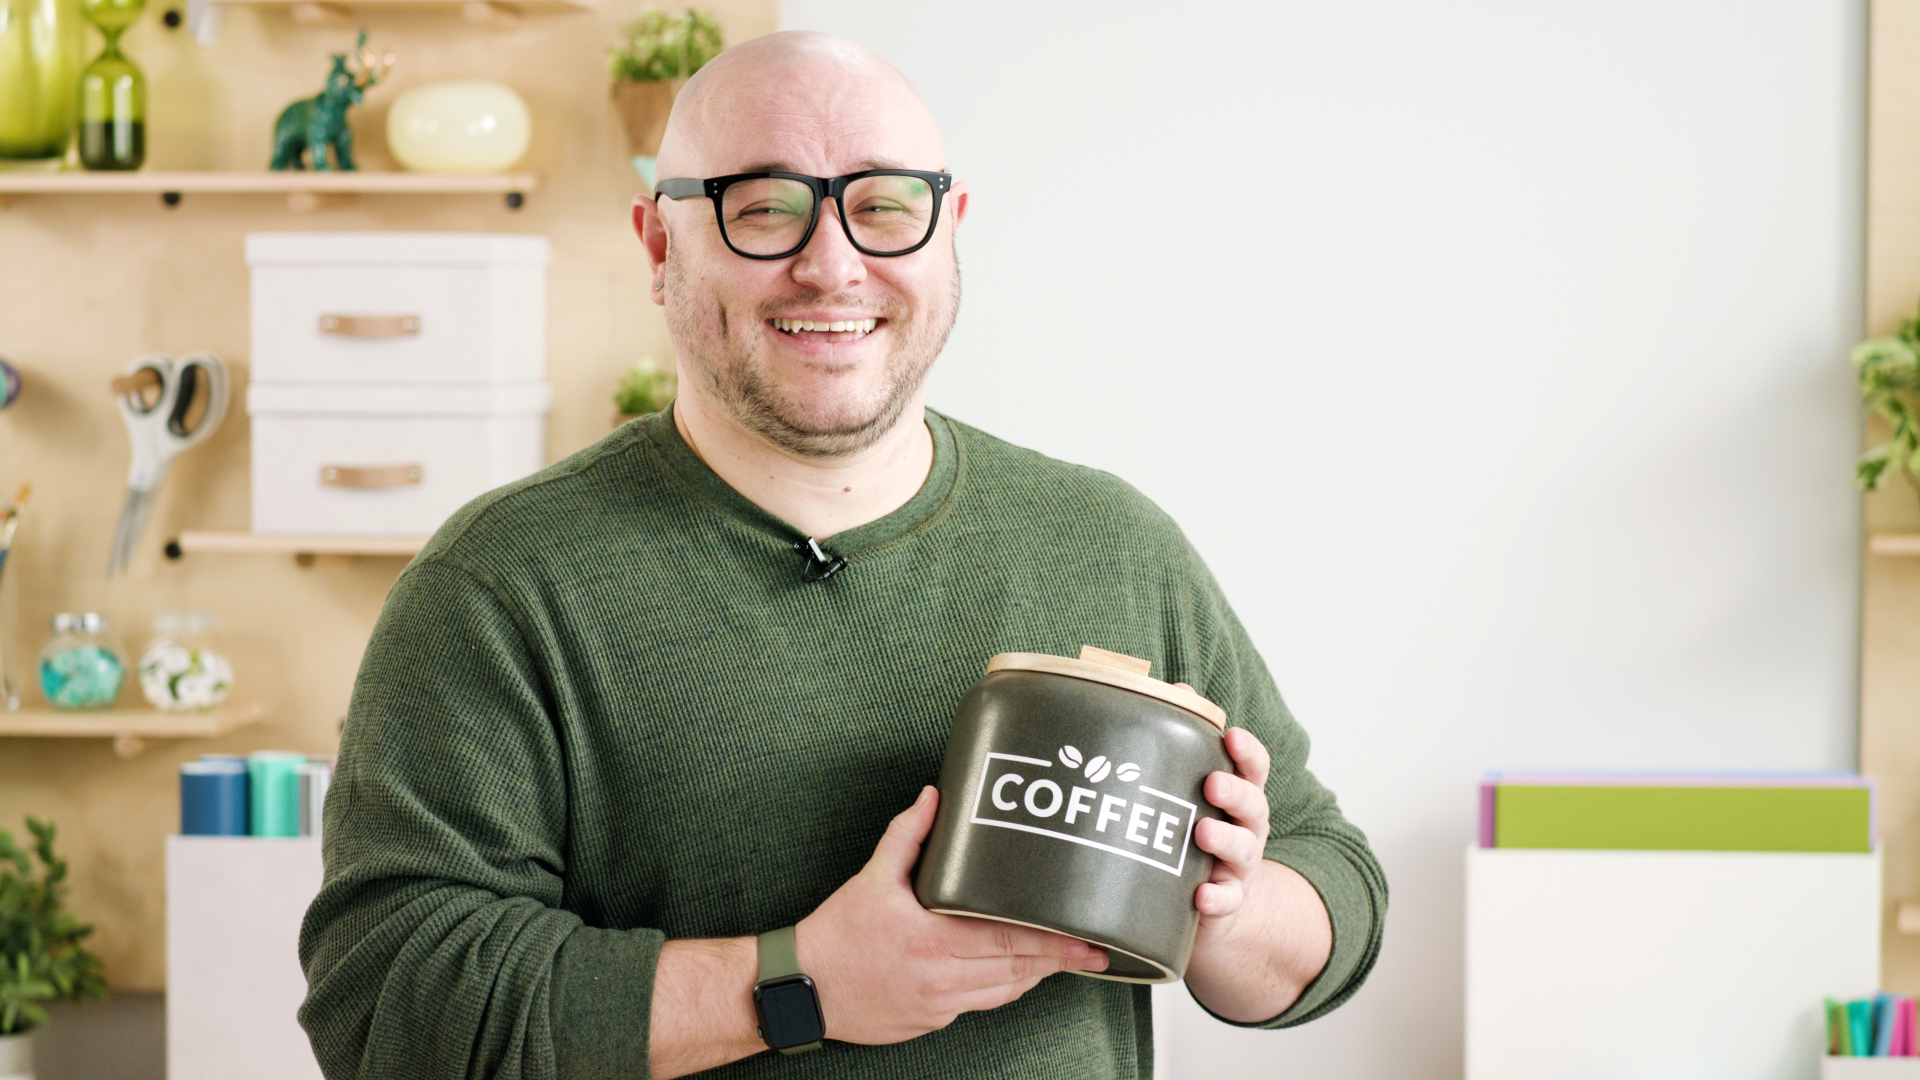
How to make custom spice jars with Cricut
Hayden is here to show us how to make print then cut labels for some spice jars! If you want to make the same labels, you can grab it in Design Space here. And follow along to see how Hayden does it!
Read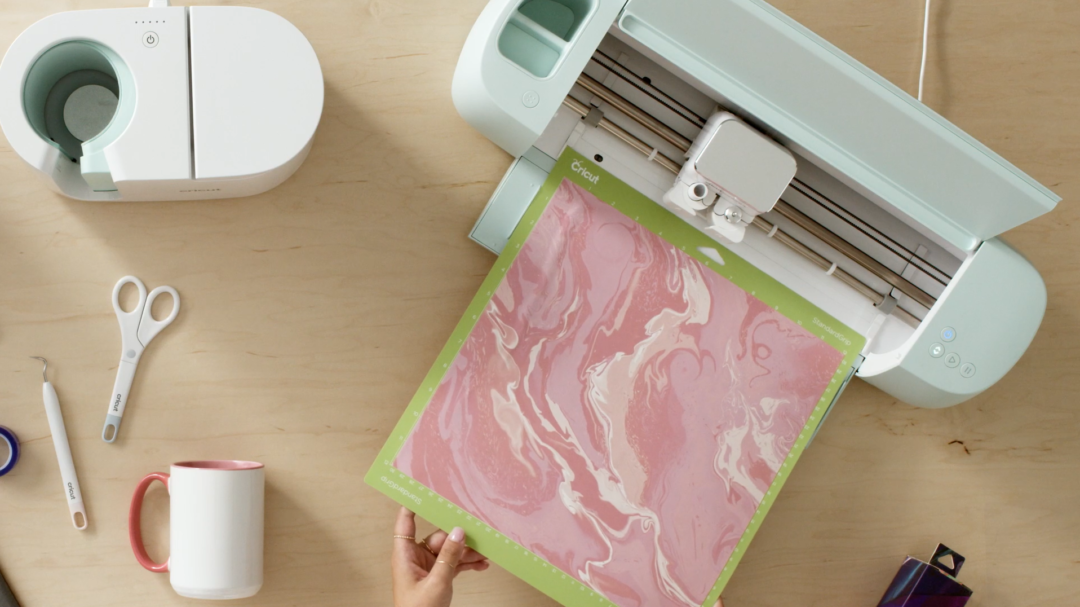
How to make a customized monogram mug with Cricut
Natasha is a big fan of monogrammed items, and next on her list is a monogram mug! You can find this exact project in Design Space. So follow along below to see how she makes it!
Read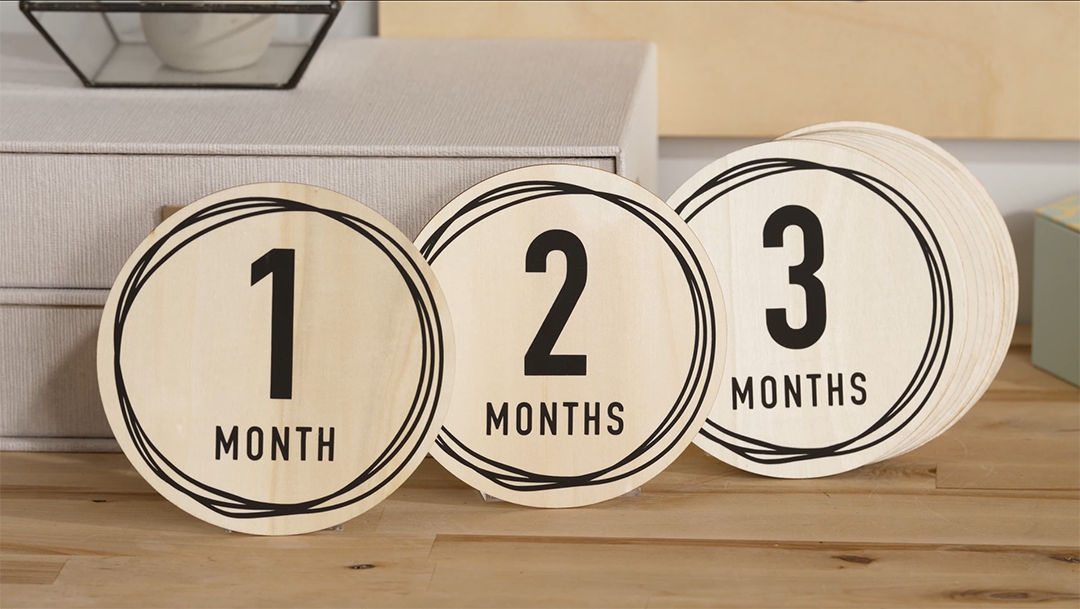
How to make custom baby milestone plaques with Cricut
Jill is supporting her family by making some baby milestone plaques to give to her brother and sister-in-law who recently had a baby. Follow along to see how she makes them! You can make this exact project by going to Design Space.
Read